
Little Cutie Baby Shower


EDITED SEPT 2020:
I recently opened my Etsy store and will be adding items from this shower to my shop! Leave a comment or message me on Etsy with any requests.
I recently took a poll on instagram stories, asking if anyone still reads blogs. I got a lot of no’s - which is fine, that hasn’t really deterred me from blogging. But I started to think more about how I can offer content that is worth going to the trouble of visiting a blog for, the kind of content you can’t get on social media, the kind that needs to be long form.
One of the main reasons I go to blogs is to get party planning inspiration. I’ve thrown my fair share of showers the last seven years, as my twenties have been filled with bridal events and now babies on the way. This post is my offering in the baby shower planning department, which will be wildly in depth and hopefully useful to someone looking to host a shower like this! I’ve even included as many sources as I can because those are the things I WISH other bloggers would put on their posts.
It was so special to get to help spoil my dear friend Sarah - her baby boy is so very loved already. Read on for more about her little cutie baby shower!
Disclaimer: the idea for “A Little Cutie” baby shower is not mine, I’ve seen it multiple places on Pinterest. All the artwork and styling and photos shown here however, are all mine unless otherwise stated.

SETTING THE STAGE
The first touchpoint for guests of any event is the invitation. As a graphic designer, it’s important to me to make sure every detail ties together for a cohesive experience, from start to finish! The mama-to-be told me she’d love to do a “little cutie” theme after seeing variations pop up online. We decided to do our own twist on the color scheme and add a soft, dusty blue to balance out the orange and peach tones. I hand painted the little illustrations and hand lettered our theme phrase. I also hand lettered the addresses on the envelopes (which you can see more of in this post - like I said, everything’s gotta tie together!
P.S…..I’m now offering these invites as digital downloads in my new Etsy store! You’ll be able to access the file immediately and edit the info on the back directly in your web browser (no software needed) - it’s super easy and fast! Print at home or with your favorite printer (I ordered mine from Moo.com).

THE VENUE
Probably the hardest, yet one of the most critical, pieces of party planning is finding a good venue. It needs to be large enough to accommodate your guest list, be close enough to most people so that they’re able to attend, and it ideally should have the right vibe for the kind of party you are going for – whether that’s intimate, dramatic, simple, etc. All the shower’s I’ve hosted have been at the home of family or friends of the guest of honor. Often, this means working with what we’ve got, so the style/decor of the house might not match the vibe of the party. This is totally okay, but I had to teach myself not to have Pinterest level expectations, because a lot of the shower inspiration we see online is done by professionals who paid $$$ for a rented venue (or the party wasn’t real and they just photographed stuff in a nice space). You can totally work with any venue and there are lots of tips I hope to post in the future for covering up a space with decor!
In this instance, however, I mega lucked out because my expecting friend’s parents have an INSANE property on the river, perfect for throwing gorgeous parties. The weather, layout of the yard, and incredible scenery all worked in our favor. When a venue is this good, the less decor is needed, so I kept things simple with lots of fresh fruit and flowers to complement the natural setting.

The morning of the party I got to drink coffee and watch the sun rise over the river. Magic!
THE WELCOME
The minute guests arrive, I want them to feel celebratory! Often, if guests don’t know many other people, or they don’t know where to go, they can feel awkward and this creates an awkward experience for other guests as they arrive too. I think part of being a good host means being ready to greet the first guests as they arrive, directing them where to go, helping place presents in the designated area and mixing them a drink to get them busy. This means being prepped and having everything set up before people start to get there, and there WILL always be early guests (lookin at you, grandmas!) I am notoriously last minute and I was almost caught still setting up the drink station when people started getting there, but I made it just in time.
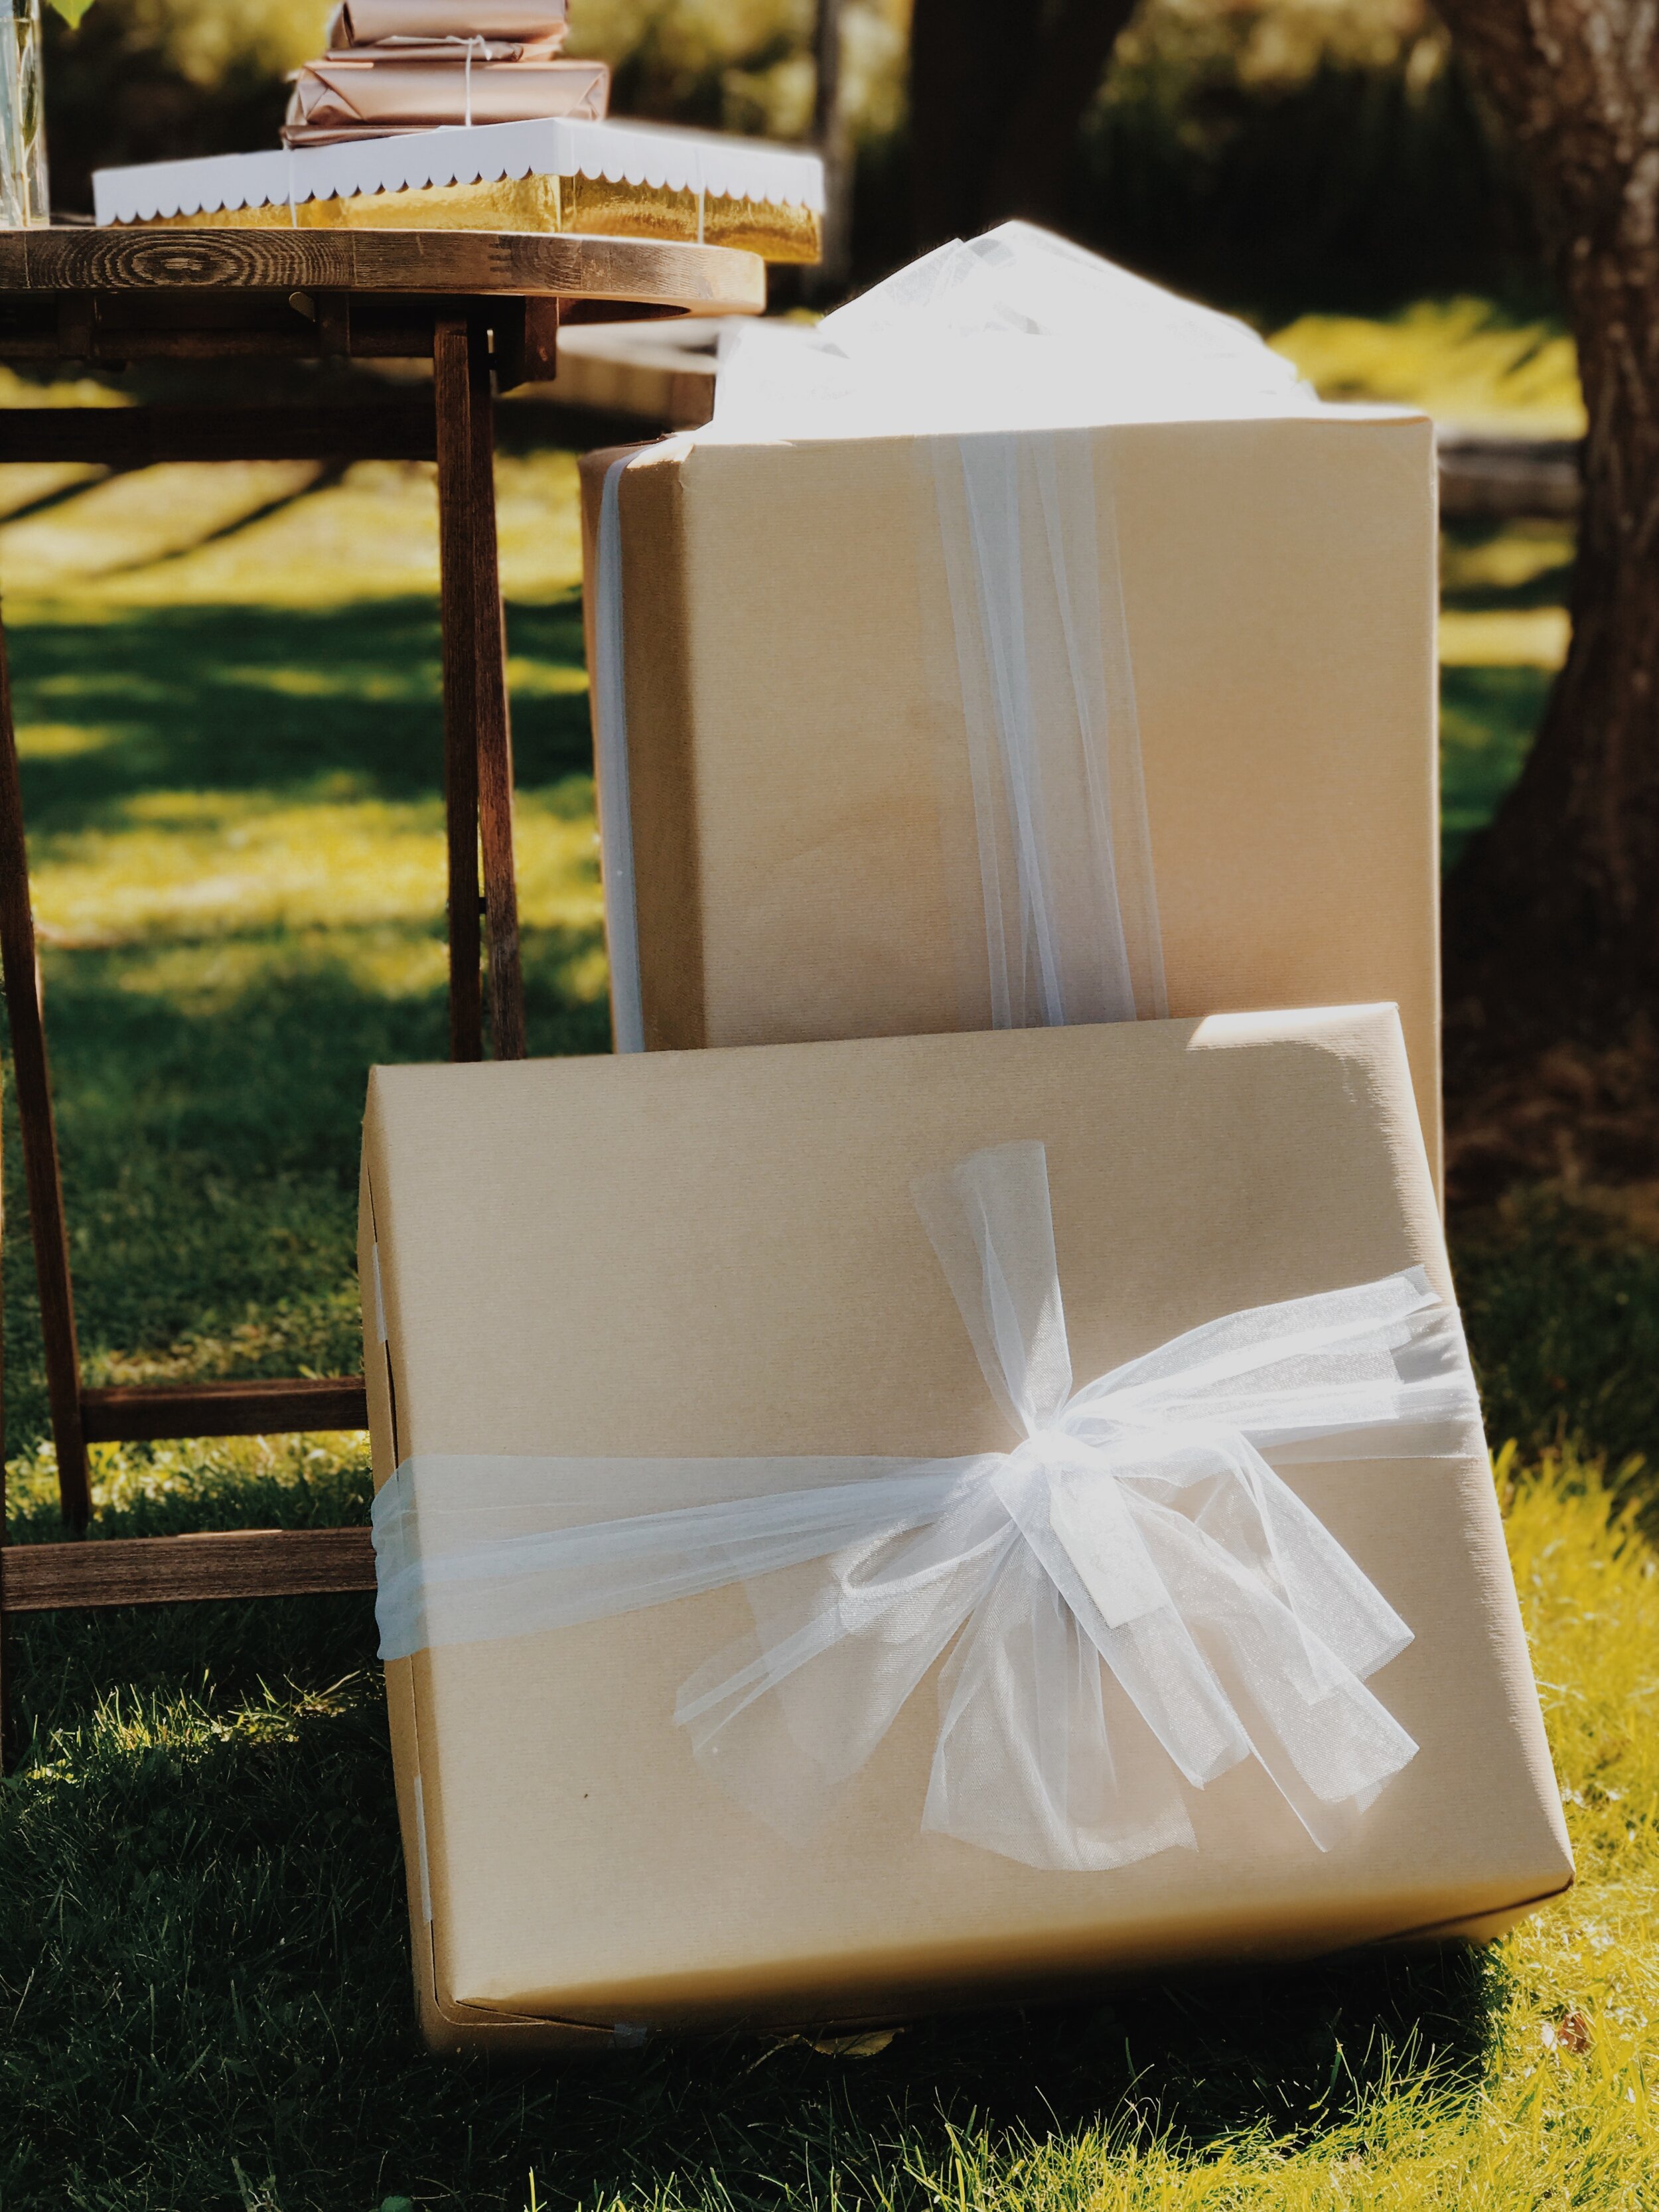
An easy way to give guests something to do immediately is to provide a simple “get to know you” game, that isn’t really a game. It gives people a purpose in talking to each other or meeting new people so they don’t stand around awkwardly. I placed a “Find the Guest Who…” stack of papers with a cup of pens on a tall table at the entrance to the party. I also place the gift dropoff near the front of the party, so that guests can quickly free their hands up! Finally, I start the gift pile with my own presents, so that people can see exactly what to do. Again, this means being prepared ahead of time - don’t get so focused on the party prep that you forget to wrap your gift!
You can download my Find the Guest Who printable HERE

THE BEVERAGES
Even at a baby shower, the beverages (and snacks) are critical. This is usually the first station guests will go to after they arrive, as mingling is much easier with something to hold in your hand! Drinks and appetizers are especially important if you aren’t serving a full meal. It is my own personal opinion that just because the mama-to-be can’t drink alcohol, other guests don’t need the same restrictions! For this shower, we landed on a mixture of non-alcoholic drinks as well as simple wine spritzers to offer a variety of choices for guests that were both on theme and refreshing in the heat.
This is the second party I’ve done wine spritzers at and they’ve been a hit both times! The setup looks absolutely stunning, and is more interactive and personalized than just pouring a glass of red or white. I’ve outlined my favorite combinations below, but the basic premise is: Muddled fruit + herbs, a dash of citrus juice, wine of choice, and topped with sparkling tonic water. I made a sign that outlines these steps, but I was still available to help guests if they were overwhelmed by all the choices!
Pro tip: make sure there’s a cute garbage basket nearby for all the discarded bottles.

My favorite recipes:
Muddled blackberries + sage
A dash of lime juice
Rosé wine
Top with tonic water
Garnish with lime slices + sage sprig
Muddled strawberries
A dash of lemon juice
Rosé wine
Top with tonic water
Garnish with lemon slice + dried rose petals
Muddled basil + blueberries
A dash of lemon juice
White wine (sauvignon blanc)
Top with tonic water
Garnish with blueberries
Muddled raspberries and mint
A dash of orange juice
Red wine
Top with tonic water
Garnish with whole mint sprig

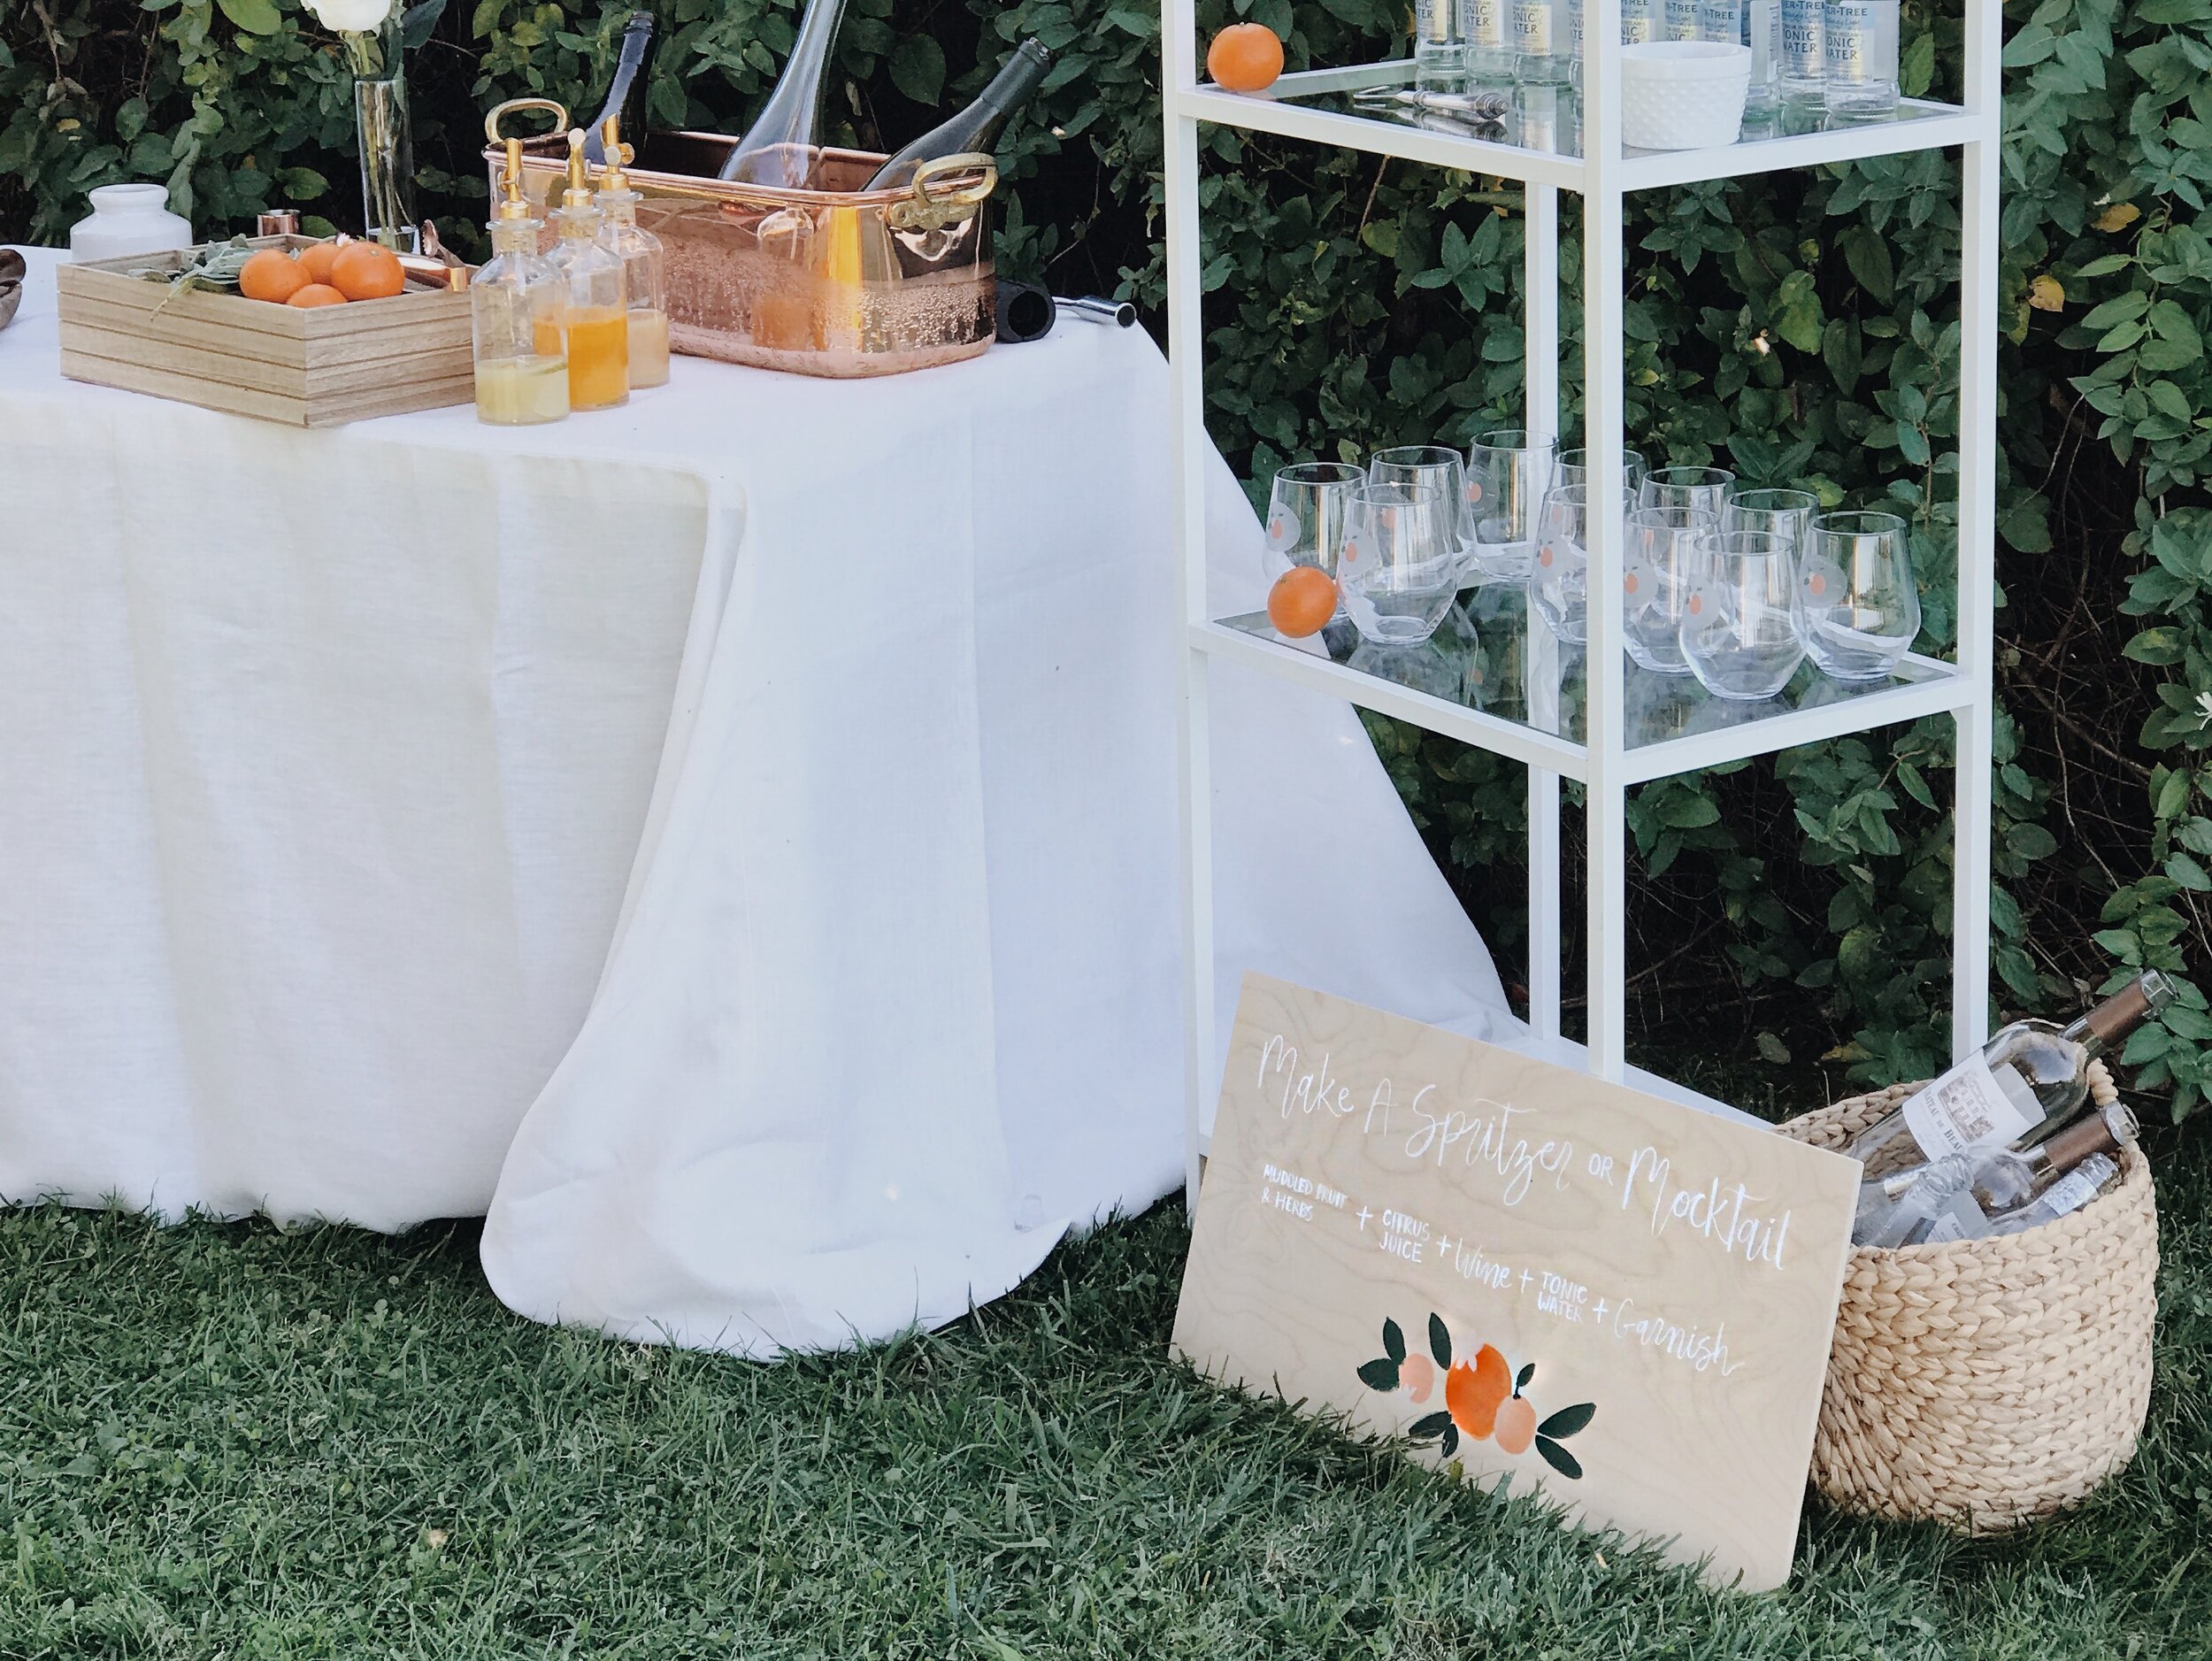
I’d been dreaming about using a shelf to display the glasses and tonic water bottles at a shower for so long now! The mama-to-be’s sister was a gem and hauled her ikea glass shelves out to the venue so we could style the display of dreams. I used extra cuties (madarin oranges) throughout the space as a pop of orange color. Mixed metals, white linens, and wood perfectly and easily brightened up the deep green backdrop.
Station details:
Sign - plain pine wood, hand painted
Shelving - IKEA
Citrus bottles - World Market
Copper Ice Bucket - Williams Sonoma
Berry/Herb Box - Target (old)
Dried floral garnishes - Amazon
Muddlers - Target
Jigger - Crate & Barrel (old)
Tonic Water - Fever Tree
Don’t forget a wine opener and a bottle opener so guests can serve themselves!

CUSTOM WINE GLASS FAVOR
Usually I’m not one for favors, since a lot of times they’re useless and cost unnecessary money. But, when something needed for the party can double as a take home gift, I’m all about it! I made custom wine glasses for guests to use and then take with them if they so desired. The stickers are waterproof but also removable if the guest would rather walk away with a plain/beautiful glass to use. Sticking with the theme, I ordered decals with baby’s estimated arrival date!
Station Details:
Glasses - IKEA
Stickers - Custom ordered from Sticker Mule using my design which I offer here

Remember to hydrate! There have been parties where I was so focused on the fancy drinks, I forgot about basic water. Fancy-ing up your hydration with citrus slices and herbs is a fun way to display options. And don’t forget ice when you go to the store - it’s one of my most overlooked items and I’m always running back out because I forgot!
THE TABLE(S)
Ah, my favorite part of decorating! If you plan to serve food, having a place for your guests to sit and eat is a must. I love styling tables and jumped at the chance to do one long, gorgeous table when my co-hostess offered to rent everything we needed. We ordered 6 tables, ivory linen tablecloths, matte white plates, copper flatware, water goblets, and rustic chairs.
An easy and cost effective way to replace flower centerpieces is to do greenery instead! This is true for weddings as well. I created a runner of greens in about 15 minutes from simple bunches of eucalyptus and darker foliage from Trader Joe’s. They don’t even need to be tied together like garlands you would buy - simply tuck the ends into each other to hide them as you work by alternating directions. I added cuties and marigolds in bud vases for pops of color and voila!

We were going to rent napkins as well, but I found the perfect shade of dusty blue that matched the envelopes I had used for the invites. my co-hostess actually washed and air dried all 35 napkins to give them a more effortless look! That’s dedication, but they did look better not fresh out of the packaging and stiff. For long tables, I love folding and placing napkins underneath the plates - it looks so elegant when your eye travels down the long line of the table.
Side note: I chose not to photoshop the gnats out of these pictures - that’s just the reality of hosting outdoors by a body of water! Prepare to protect food and drink from all the hungry bugs if you go this route. We flipped the plates over just before guests came so that bugs weren’t landing all over them.


THE FOOD
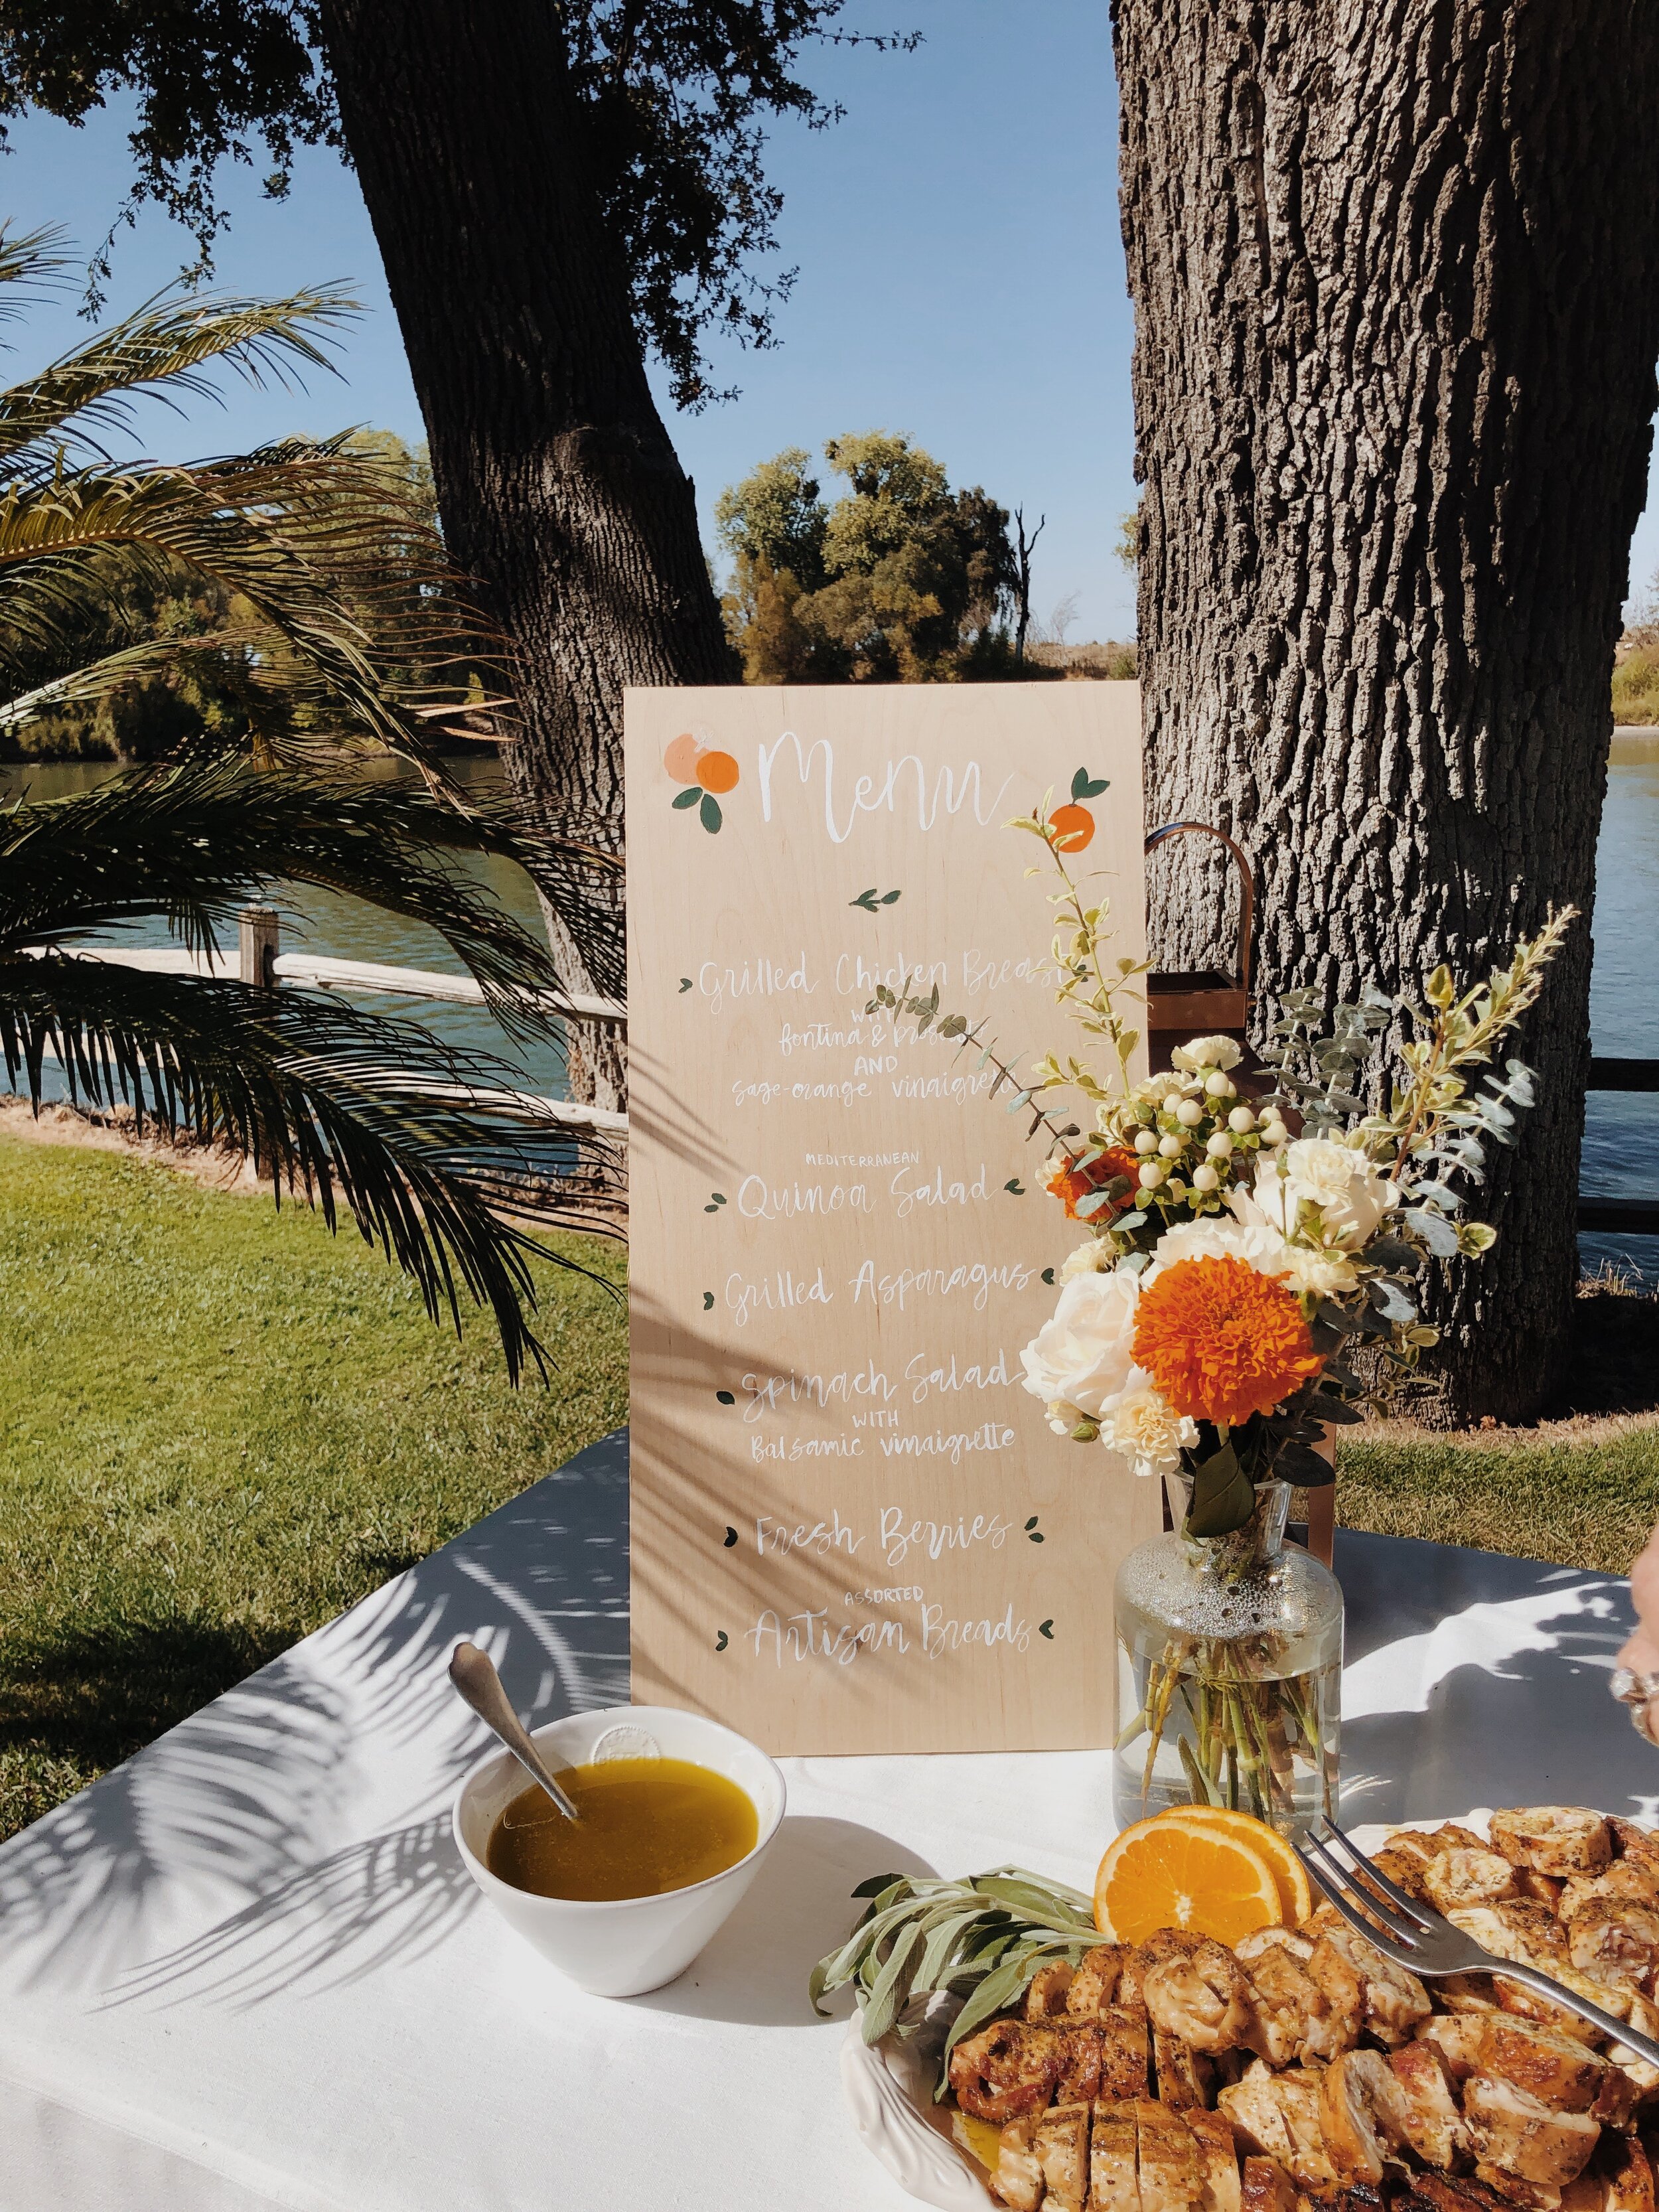
A beautifully styled table needs food to go with it! We served a late lunch that was honestly the best shower food I’ve ever had in my life, that was catered by my co-hostess/the soon-to-be grandma. On the menu was Prosciutto-wrapped chicken with a sage-orange vinaigrette (very on-theme), a quinoa salad, spinach salad, grilled asparagus, fresh berries, bread, and a fabulous cheese board. I literally want to die and be buried in the orange sauce, it was divine. I got the recipe so you can become a believer, too.
I learned a lot from my co-hostess about how much food is needed for a party of 35-40 people. I usually over or under estimate how much I will need. It didn’t look like enough for everyone, but somehow we still had leftovers!
Station Details:
Sign - plain pine wood, hand painted
Serveware - white vintage platters/bowls
Florals - Trader Joe’s
Napkins - World Market


Sage-Orange Vinaigrette
1/4 cup white wine vinegar
3 tbsp chopped fresh sage leaves
1 clove chopped garlic
2 tsps grated orange zest
1/4 tsp kosher salt
1/4 tsp ground black pepper
1/2 cup olive oil
Blend all together in blender
THE ACTIVITIES
Let’s keep these party people entertained! I’m not a huge fan of games at showers, and most other people I’ve talked to aren’t either. One or two is more than enough. The mama-to-be at this shower loves all things Disney, so I put together a simple “Guess the Disney Baby” game! I printed 10 photos of obscure Disney characters as babies or toddlers and had guests write down both the name and movie for a max of two points per character.
The highlight activity however, was a onesie decorating station! Simple, plain colored onesies in a variety of sizes and limited decorating tools ensured all the onesies looked simple and cute and stayed in the style that mama-to-be prefers. This station needs to get set up near power for the irons, but is otherwise easier to DIY than it looks!


THE PHOTO BOOTH
Every good party these days has a photo booth. Guests love snapping pictures with the guest of honor! A designated area with a good backdrop makes things easy and ensures the mama-to-be gets good pictures in the right lighting. Choose a spot away from harsh/direct sunlight. This venue had the perfect spot that didn’t really need any extra sprucing up, so I simply added some pops of orange and a sign in case guests wanted a prop to commemorate the occasion.
Station details:
Sign - plain pine wood, hand painted
Florals - Trader Joe’s


THE DESSERT
We’re nearly there! I won’t bore you with photos of gift opening or mingling, so we’ll end with dessert. One of the friends of the mama-to-be makes incredible shaped cookies, so I asked her to make some on theme oranges! I supplemented with madarin buttercream filled macarons and lemon cakes. I took a macaron making class back in the spring and was confident I could give making 40 macarons a go. This was by far the most time consuming part of shower planning! They’re gorgeous and impressive, but definitely a labor of love. I started baking early the week before and kept them saved in the fridge so that I was sure to have enough - a number of batches didn’t turn out for me so this wound up being a good thing to do.
Pro tip: Swap out the appetizer table for desserts once guests have depleted the supplies! No need for two setups.
Pro tip: I was going to make cake but ran out of time. Safeway or other grocery stores often have ready to go cakes that are delicious. These were the star of the show, and all I had to do was present them beautifully on cake stands! They also transported well.

Station details:
Farm table - rented
Serveware - All vintage
Macaron recipe - Teak and Thyme
Lemon cakes - Safeway
Custom Cookies - Ashley Shafer


ADDITIONAL DETAILS
Try as you might, you simply won’t be able to think of everything. The best advice I have for hosting a big event is to relax and try to enjoy time spent with family and friends! The people are what matter, so don’t get so caught up in the details that you miss all the fun.
I could never have done this without the help of my co-hostess, who offered her home, amazing vintage serveware, and bought all the food and rentals. Every budget is different, so remember that you can work with a lot or with a little, it doesn’t matter! Start collecting pieces now that you can use again and again - I’ve amassed a bunch of party materials over the last seven years that are still serving me well. You can also ask more people that love the guest of honor to pitch in and help, both with cost and physically. It takes a village!
List of signage:
Welcome
Parking
Mama-to-be chair marker
Photo Booth
Menu
Drink instructions
Onesie decorating instructions
Handy things to have:
Balloons
Extra florals
Garden shears
Scissors
Prizes for games (I usually buy candles, face masks, nail polish, etc)
Snacks because you’ll forget to eat


I hope this has been helpful! Leave a comment if there’s anything else you want to know about hosting a shower like this.
xo,
M