
Chocolate & Connection: Galentines 2024


I’m beyond excited to share this year’s Galentines gathering — fresh off the presses! The month of February is my excuse to show my friends and family just how much I love them, and I think Galentines is the perfect opportunity to gather my girlfriends together and treat them to a delicious meal while connecting over good conversation. I’m still thinking about the decadent flourless chocolate cake we served and the deep conversation that flowed from asking some thoughtful questions.
Read on for all the recipes and details that brought this night of chocolate and connection together!
Inspiration
Let’s start as we always do with the inspiration for my theme: “Chocolate & Connection”. I’ve never been that into the color red (unless it’s a Taylor Swift inspired bold lip), and I tend to fall in and out of love with pink. But with these being the colors most associated with Galentine’s/Valentine’s day, I was trying to think up something completely different that would still be a nod to the holiday, while fitting my personal style preferences a bit more. What immediately came to mind was chocolate — my favorite gift to receive this time of year! My mom almost always buys my sister and I some See’s candy boxes with a little love note and it’s such a special tradition to me. I’ve been really loving rich, espresso browns lately (incorporating them into my wardrobe and interior decor) so a chocolate aesthetic seemed like a perfect fit.
In addition to how I want an event to look, I also always consider the atmosphere I want to create — all the intangibles that make someone leave the night feeling warm, connected, and known. Several brands that hold these values close came to mind and I knew I wanted to partner with them to make this Galentine’s extra special. I got out my Cultivating Conversations Card deck from Wilde House Paper, a tool that encourages depth of conversation by inviting you to answer meaningful questions. After looking through the deck, I pulled out cards that centered around the theme of connection, both to others and to oneself. The cards are so beautifully designed that they actually became the starting point for creating my whole tablescape! But, I also needed to bring in some of the brown hues to tie the table into the theme. I reached out to Tiersha at Known Soft Goods as I’ve been eyeing her linens for a few months. I was delighted to talk with her and find out that not only could she make the custom espresso linens of my dreams come true, but that I’d also found a truly kindred spirit in her! I couldn’t recommend Known and Wilde House more — as well as WKND Goods, a shop I frequent for all my favorite event outfits, and Broyt, where I got the dreamiest skinny taper candles. Supporting other small businesses is one of my values at Flourish and all of these products truly elevated and inspired the night.
See the Pinterest Inspiration Board
P.S. — none of the brands linked in this post were sponsored collaborations, I purchased everything myself and genuinely love each & every brand I share <3 They’re my galentines!

Inspiration from top left: Flourish by Melody Julius, @blossom_garden via Pinterest, Wilde House Paper, Known Soft Goods photographed by Flourish by Melody Julius

Design by Flourish by Melody Julius
You’re Invited
You’ve heard it before but I’ll say it again — the invitation is the best place to set the tone for your event! Even if it’s a casual digital invite to text out, like this one. Sometimes I don’t have all the details worked out yet, but need to get the word out asap and in this case, I treated this invite more like a save the date. I kept it brief but the design conveyed the theme & general vibe of the night, and then I followed up a week or so later with more information written out in a longer text.
The Elements
DECADENCE
CHOCOLATE AND COFFEE
DEEP CONVERSATION
DINNER BY CANDLELIGHT


DESIGN WISHLIST
Rich brown table linens
Extra tall taper candles
Creamy florals
Silver accents
Plateware with character
Cultivating Conversations Card Deck
The Setting
When I host at home I do my best to work with what I already have, and am very selective about what new elements I bring in. Can I use any new items often enough to justify the purchase? Can I simply rearrange my space to satisfy any impulses for newness? I did happen to buy a lot of new goods for this event, but they were carefully considered purchases that were not specific to this one occasion. Our set of primary dishes has been worn out for a while, so having people over was a great catalyst to revisit my search for dinnerware. I also (FINALLY!!!!) landed on dining chairs that I absolutely love. Unfortunately, they didn’t arrive in time for Galentine’s but I just got the email as I’m writing this post that they’re ready for pickup. I can’t WAIT to see how they look around my table and I’m so happy to have eight matching chairs for the first time.
Besides the table, I kept the setting pretty simple — I arranged some florals on my console table and put wine bottles there for guests to help themselves. I spruced up the living room in case we wanted to move over to the couch after dinner (though we ended up hanging around the candlelit table the whole time, which was a vibe!)


The Table
The table was the focal point of the night so for this event, I put a lot of energy into styling my vision. As I mentioned above, I was able to work with Known Soft Goods to get these gorgeous chocolatey brown linens that served as my base to work off of. Tiersha actually sources most of her fabrics from deadstock around LA, which is such a cool and sustainable approach! It also means my set is one of a kind. I knew I’d love it, but I wasn’t prepared for just how high quality the material would feel and how beautifully it would tie in my table with my contrasting espresso stained furniture — I know I’ll get a ton of use out of it beyond just this event.
The new plates I ended up ordering deviate a little bit from what I might normally pick, but I’ve actually been desiring a little more personality and character in my home objects. I’m leaning more into vintage finds, especially silver objects, and I particularly love how silver pairs with warm wood textures and creamy whites. I think these heirloom inspired plates will be a great addition to our daily meals.
I decided that this particular tablescape wouldn’t include florals, and I’d just do one larger arrangement off to the side. Instead, I wanted lots of candles piled on for a cozy atmosphere as the evening progressed. I had bookmarked some beautiful, strikingly tall taper candles from Broyt and envisioned pairing them with the ribbed pillar candles I already have. I just needed to quickly make some holders for the tapers out of leftover air dry clay I had on hand, inspired by the ones Broyt uses! A few brown velvet ribbons and silver accents and the center of the table was complete.
The final touch was to place the cards I had pulled from the Cultivating Conversations deck at each place setting. I tried multiple configurations of how to style and tie the napkins, and was initially only going to have the larger plate on the table, but ultimately decided having both out would be more practical. So I landed on folding the napkin and having it hang over the edge of the table, with the plates stacked on top and the card placed in the center of the appetizer plate.


Food & Drink
Alright, time for the most highly anticipated section! The food and drinks served at a dinner party are obviously some of the most important elements. But to tell the truth, I’m still a little bit insecure about my cooking skills. I have been gluten free for a long time, and need to avoid too much dairy — and recently, without going into too much detail here, have needed to adopt further restrictions to my diet due to ongoing issues. A number of my friends also have dietary needs to be mindful of, but a lot don’t! It can be tough to come up with a menu that accommodates everyone, but certainly not impossible. Consider this your encouragement that if you’re not a confident cook, I’m not either. I ask my friends for help, learn from them and get lots of feedback! I definitely make sure I can cook something I’ve practiced before and that I know tastes good. I’m also not above ordering takeout! It all depends on the atmosphere you want to create, and whenever I know I’m going to spend a lot of time in the kitchen, I design the event so that I can still welcome and chat with my guests and ensure I have enough support to still be a good hostess. Below is the menu I planned that catered to everyone’s needs (gluten free, with the option to reduce dairy as needed, and mocktail options):
DRINKS
Wine (Pinot Noir, Rosé) / Blood Orange & Bitters Cocktail or Mocktail / NA and Decaf Espresso Martinis
DINNER
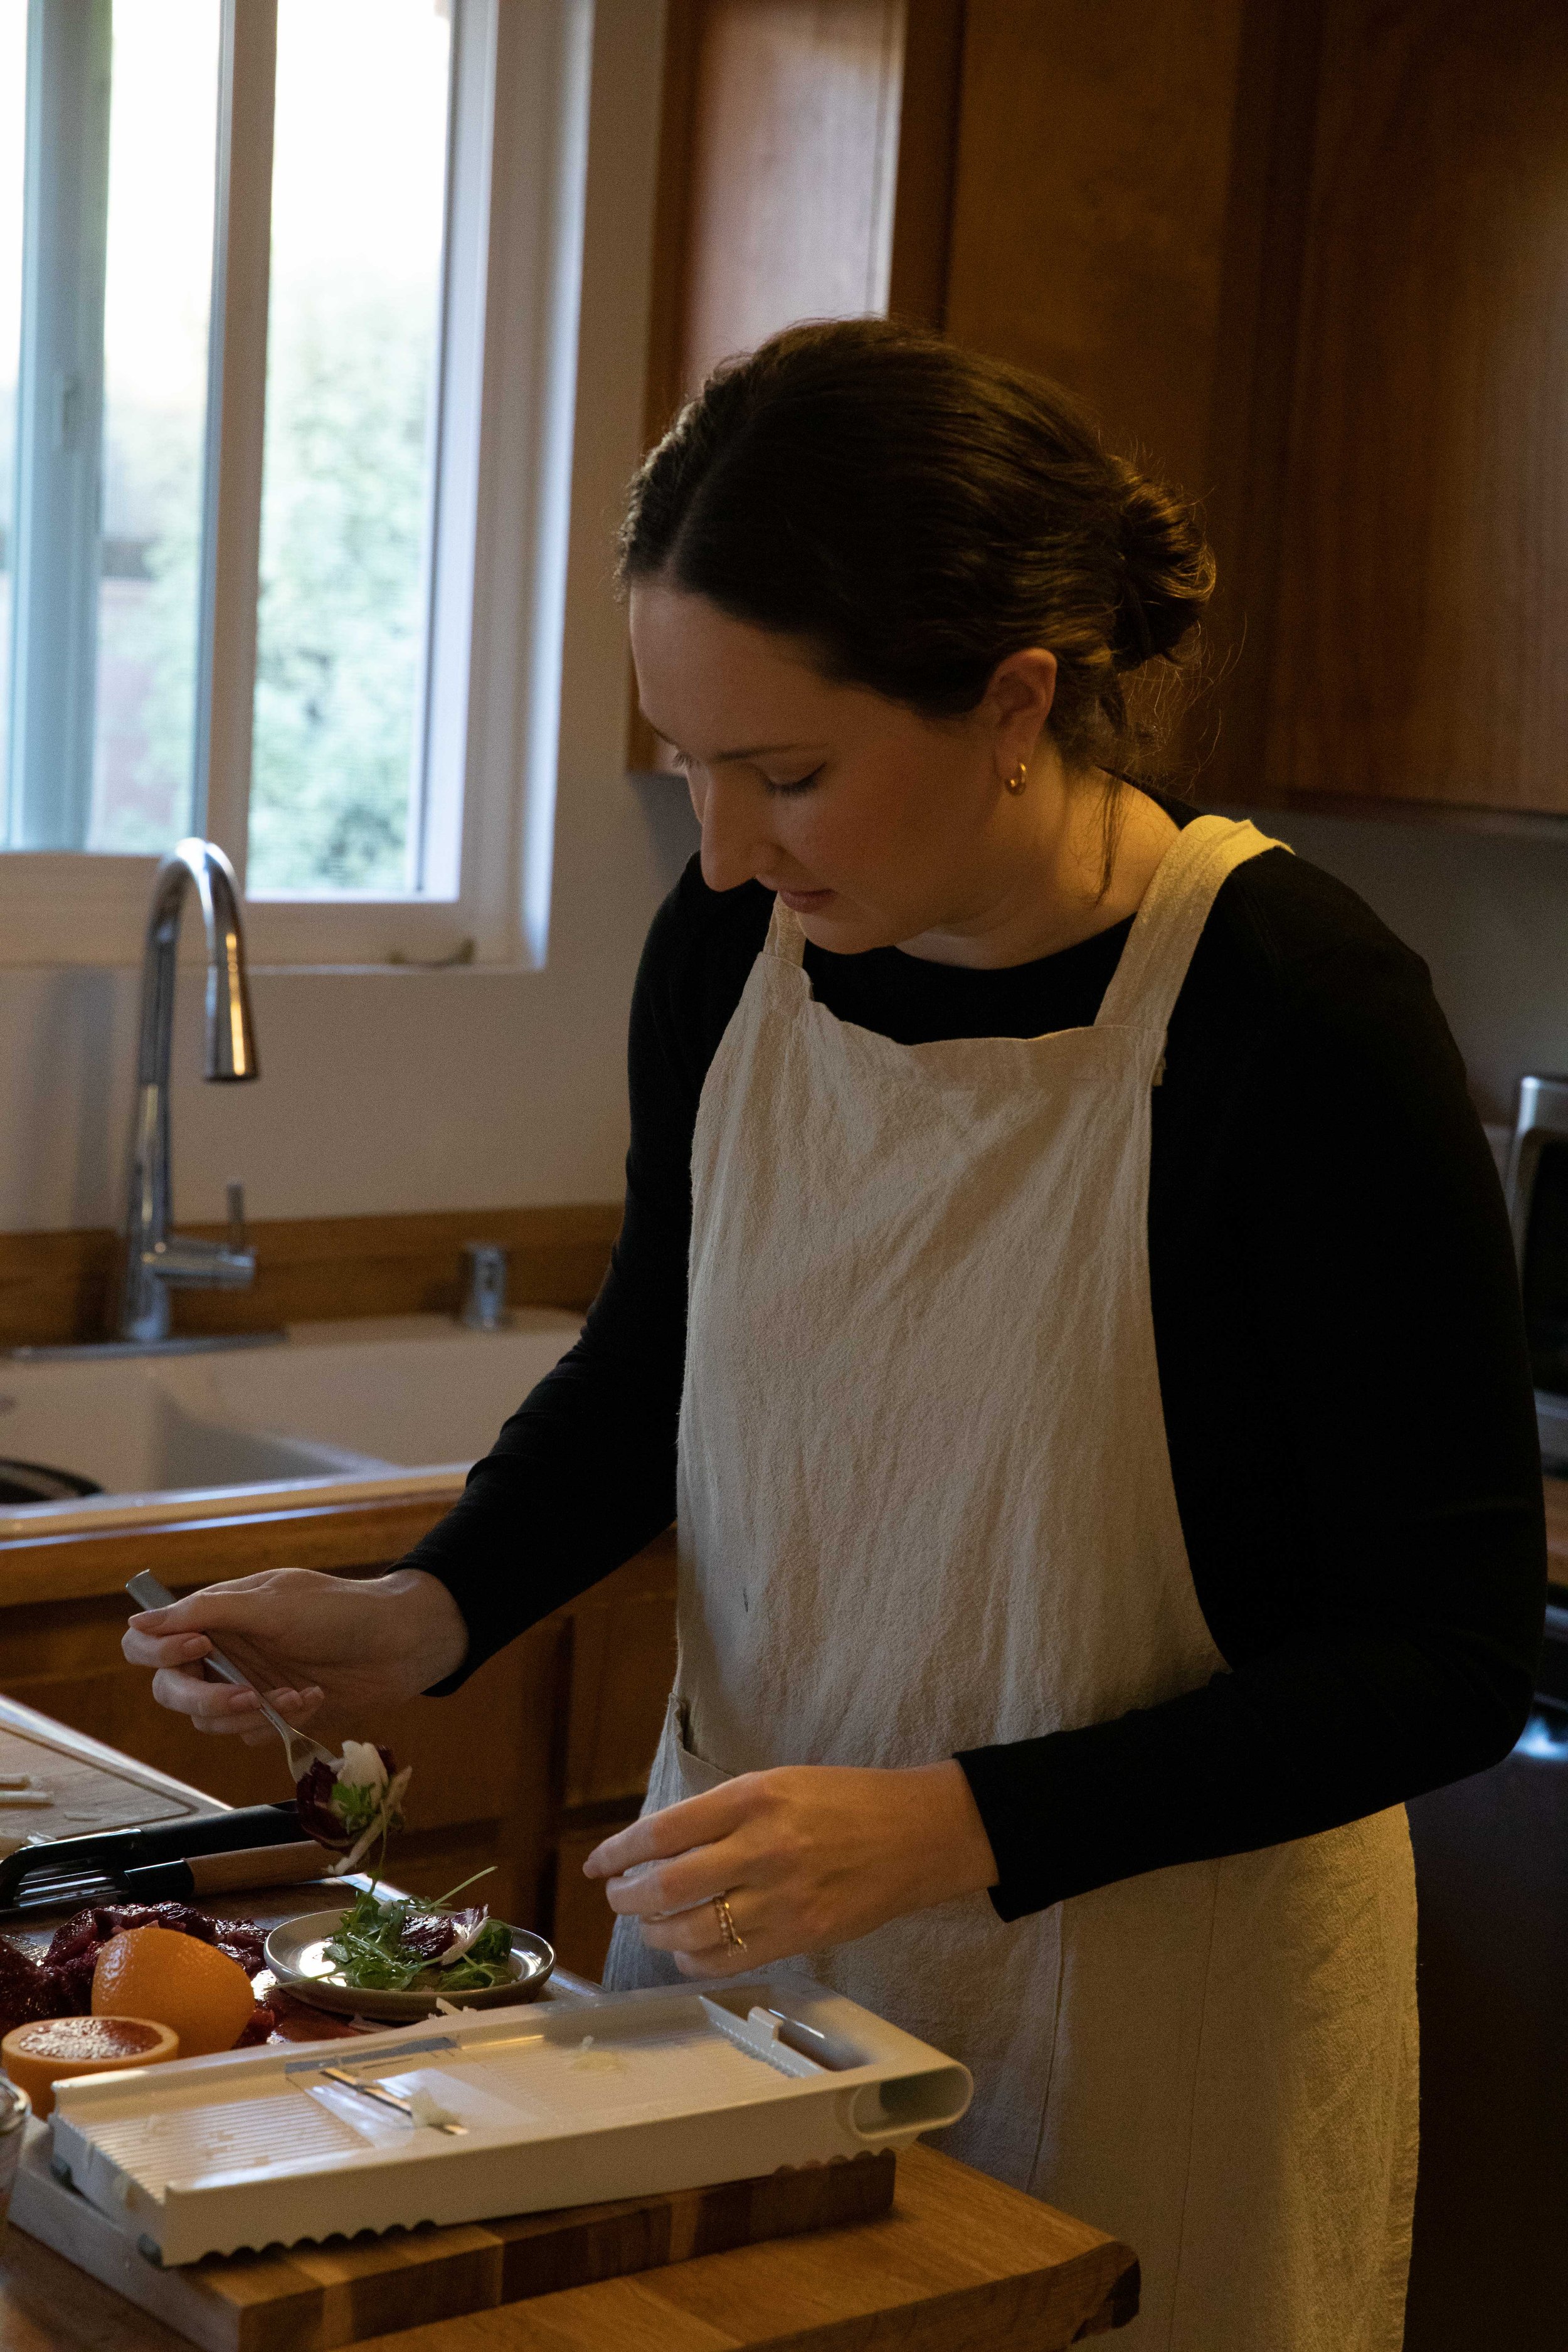
Simple blood orange, arugula and radicchio salad / vegetable risotto with peas served with salt & pepper chicken
DESSERT
Flourless chocolate cake with coffee creme anglaise and an almond crumble, dusted with cocoa powder
Photograph by Mary Lagier
Cocktail Shopping List
Blood orange juice (fresh squeezed or bottled)
Lemon simple syrup
Amass Gin
Hella Cocktail Co Aromatic Bitters & Soda cans
Quality decaf espresso
Brown sugar simple syrup
Seedlip Spice 94
Market shopping list
Arborio rice
Yellow onion
Garlic
Vegetable Stock
Affordable white wine
Olive oil
English peas
Butter
Parmesan
Chicken thighs
Salt & Pepper
Fresh blood oranges
Arugula
Fennel bulbs
Radicchio
Red wine vinegar
Dessert Shopping List
Quality 60% cacao baking chocolate
Butter
Eggs
Granulated Sugar
Instant coffee
Heavy cream
Whole Milk
Almond flour
Gluten free all purpose flour
Salt

Photograph by Brooke Stupar
Blood Orange & Bitters Cocktail or Mocktail
I’m pretty proud of some of the drinks I’ve come up with over the last year, and this one’s definitely a favorite. Any time blood oranges are in the grocery stores I have to grab them — I love drying them for cocktail garnishes or for decorating baked goods, and of course I love juicing them, too! I was inspired a while back by cans of soda with bitters by Hella Cocktail Co. at Whole Foods. The notes of allspice sounded so good and I thought it might pair well with my beloved blood oranges. And sure enough, they’re a great match.
Before we start our recipe, I want to share my hack for making simple syrup quickly. Simple syrup is one of those things that’s so easy to make, I never buy it but I often forget to make things ahead of time (oops). If you want an infused syrup, definitely still take your time on the stove. But for something basic, the microwave will do the job much faster. Combine a half a cup of sugar with 3 tablespoons of water and pop it in the microwave for two minutes. Voila! I don’t even wait for it to cool sometimes and it still works great, hah. Stir in a half a cup of lemon juice to make the lemon simple called for below.
1.5 oz blood orange juice / .5 oz lemon simple syrup / 1 oz gin (I’m using Amass right now) / Top with Hella Cocktail Co. dry aromatic bitters and soda (found at Whole Foods) / dried blood orange slice & star anise pod to garnish
Shake everything except the soda over ice to combine, then strain into coupe glasses and top with as much bitters & soda as you like. Float an orange slice on top and place the star anise pod on top of that.
To make it a mocktail: sub out the gin for Seedlip Spice 94
Photograph by Brooke Stupar
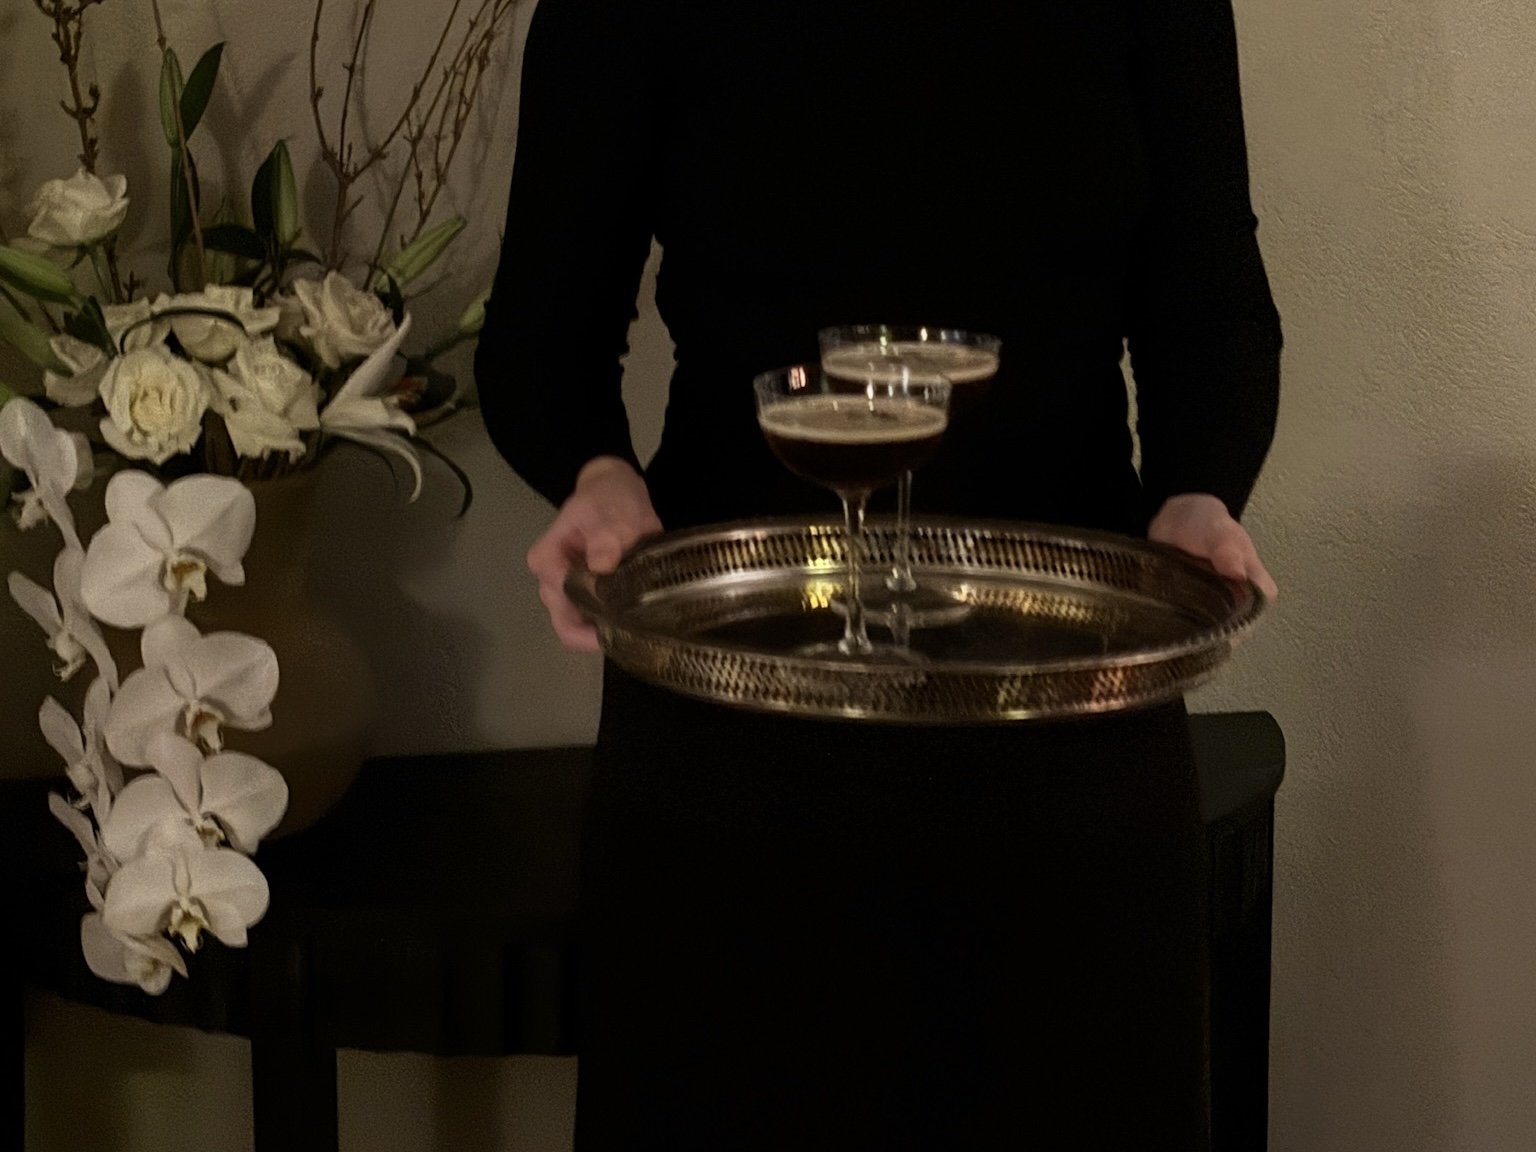
NA, Decaf Espresso Martinis
Over the moon to have discovered an “espresso martini” that I can have without lying awake all night, heart racing! I put it in quotes because no, it’s not exactly the same thing, but it absolutely hits the spot and still has all the delicious coffee flavor. I think the key is quality coffee, as I don’t love the taste of most decaf. I ordered Equator’s ground decaf espresso with notes of dark chocolate and cherry (yum). I got one grind above the espresso grind so I could use it in my moka pot as I don’t have an espresso machine.
Start by making some quick brown sugar simple — I learned another hack with this one, instead of microwaving, boil some water in a kettle and combine a cup of packed light brown sugar with a 1/2 cup of boiling water. Stir until all the sugar dissolves and you’re good to go.
Again, since I’m not the best at planning ahead, I didn’t let the espresso or the simple syrup cool completely before using them, but my still drinks turned out great and had plenty of foam! The key to good foam (I have heard) is the oils in the coffee, so the fresher the better. And you have to shake really well to get it chilled. My arms were burning when I was done making eight cocktails!
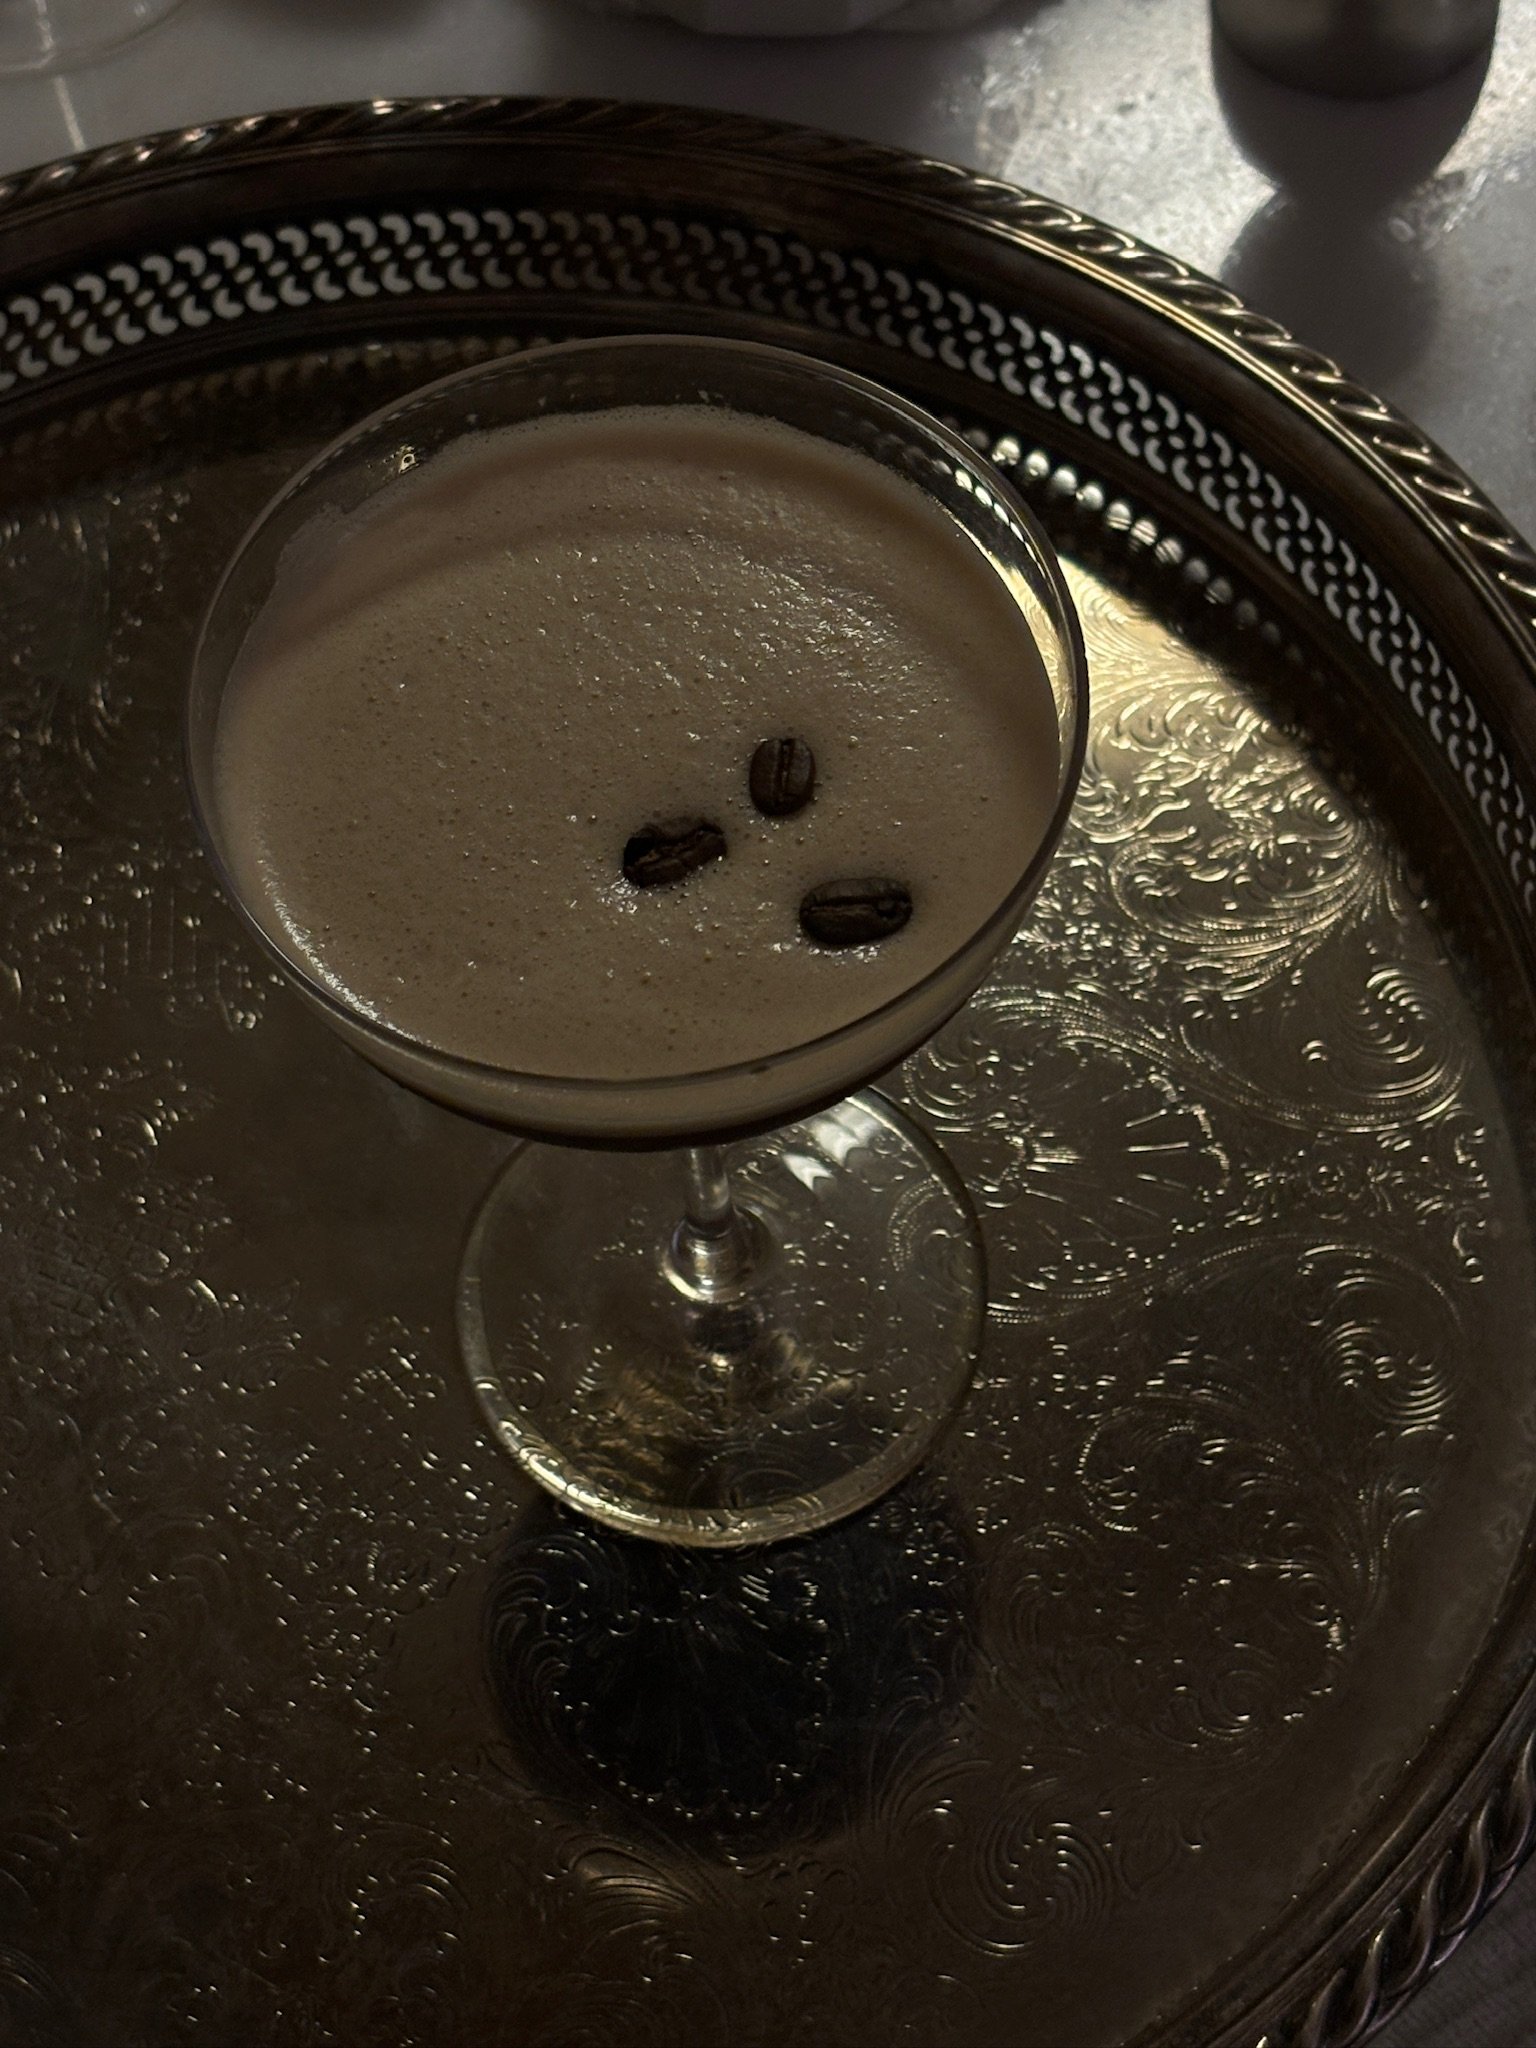
1.5 oz Seedlip Spice pice 94 / 1 oz freshly brewed decaf espresso / .75 oz brown sugar simple / 3 whole coffee beans to garnish
Shake vigorously over ice for at least 20 seconds. Strain into a coupe or martini glass and place 3 coffee beans on top of the foam. Optionally, dust with cocoa powder or espresso powder!
Photograph by Brooke Stupar

Photograph by Mary Lagier
Blood Orange Salad
Recipe adapted from Williams Sonoma
Since both dinner and dessert were going to be rich dishes, I wanted something bright and acidic to cut through. I figured a salad with blood oranges would tie in the welcome cocktail and would look beautiful on the table! I cobbled several recipes together, using the one linked above as a base but adding some beautiful radicchio for larger greens. I doubled the below to serve 8.
2 fennel bulbs / 4 cups loosely packed arugula leaves / 1 head of radicchio / 4 blood oranges
2 Tbs. red wine vinegar / Salt and ground pepper / 6 Tbs. extra-virgin olive oil
Core and thinly slice the fennel bulbs. Peel the blood oranges with a knife and slice them cross-wise. Layer radicchio leaves, arugula, fennel and orange slices on a beautiful platter. Whisk the dressing ingredients together (I ended up shaking in a jar with a lid) and dress right before serving.
Vegetable Risotto with Peas
Recipe adapted from Love & Lemons Cookbook
I’ve been using the Love & Lemons risotto recipe as a base for years, and constantly adding different accents to mix things up. Using vegetable stock instead of chicken stock was a game changer, I find that it adds such a nice flavor. Any time I want to make something decadent and simple, I make a risotto. Yes, it’s a lot of stirring, but it’s an easy dish to make while visiting with guests!
1 Tbs. extra-virgin olive oil / 1 small yellow onion / 2 garlic cloves / 1 cup arborio rice / 1/2 cup dry white wine / 4 cups vegetable broth / 2 Tbs. butter / 1/2 cup parmesan cheese / salt & pepper / peas
Heat up your olive oil in a large skillet over medium heat. Chop the yellow onion up and season with salt and pepper. Cook for about 5 minutes until the onion is soft. Add minced garlic and the dry arborio rice. Let this toast for a minute while you get the wine out (I opt for a cheap sauv blanc usually). Season with salt and pepper again, then add the wine and let it cook down until absorbed. Then, start adding in the vegetable broth about 3/4 cup at a time while stirring continuously. Most recipes will tell you the broth needs to be hot but I never do that and again, it still works lol. Allow each addition of broth to be fully absorbed before adding the next. Once all the broth is in, I heat up some peas (I get the bags at Trader Joe’s) and stir those in along with the butter and the parmesan. For myself and my guests who limit dairy, I just remove a couple servings before adding the butter and cheese. This would also make it vegan :)
Oven Baked Salt and Pepper Chicken Thighs
Recipe adapted from Salt and Lavender
For a bit of extra protein, I served chicken thighs over the risotto and kept it simple by baking them in the oven.
3 lbs boneless, skinless chicken thighs / 2 to 3 Tbs. olive oil / salt and pepper
Preheat the oven to 400 degrees F and line a baking sheet with aluminum foil. Pat the chicken dry with a paper towel. Coat it on both sides with olive oil and season generously with salt and pepper before placing them on the baking tray. Bake on the middle rack for about 30 minutes, then check them — mine were done between 30 and 35 minutes but it will vary depending on your oven and how many thighs you’re doing at once. Let them rest for a few minutes before serving!

Photograph by Mary Lagier


Photograph by Brooke Stupar
Flourless Chocolate Cake with Coffee Creme Anglaise and an Almond Crumble
And now, for the pièce de résistance! My favorite dessert on the planet is at Barcelona Wine Bar in Denver, Colorado. The first time I had it I loved it so much and fangirled so hard that they literally knocked it off the bill, saying they were happy I was so happy :’) I knew I had to try to recreate it but I had to find good recipes for all three of the components. I’m in love with this recipe from Plays Well with Butter that yields a light and moist cake (essential that it doesn’t get overly fudgy). I highly recommend using her full blog page for photos, tips and troubleshooting tricks. Then, a coffee creme anglaise recipe (found a good one by Martha Stewart). And finally an almond crumble (tricky to find just the crumble recipe but I did!)
8 ounces bittersweet chocolate, chopped (I used 60% Ghirardelli) / ½ cup (1 stick) butter / 4 large eggs / ⅓ cup granulated sugar / ¼ teaspoon salt
Spray 8oz ramekins or similarly sized baking tin with cooking spray. Preheat your oven to 350 degrees F. Melt the chocolate by microwaving for 30 seconds at a time, stirring to fully melt it without burning it. Melt the butter as well and stir them together. Use an electric mixer to mix the eggs, sugar and salt for 3 minutes until the eggs are pale yellow and the sugar is dissolved — it will look foamy. We don’t want the eggs to scramble so hopefully the chocolate and butter mixture will have cooled down a little bit, but pour a small amount into the egg mixture while stirring. Then, slowly add the rest of the chocolate and fold it in. If you’re like me and can only hear Moira Rose saying “just fold it in, David!” but you don’t really know what it means either, it’s just gently stirring using a scooping sort of motion so the eggs don’t lose the air you just whipped into them. This part is actually really important so that the cakes remain light and fluffy! Bake for 20—25 minutes and watch closely for when the edges start to pull away from the tins. Mine sank a little bit once they were out (this is normal) but remained a wonderful texture.
4 large egg yolks / ¼ cup sugar / 1 cup milk / ¾ cup heavy cream / 1 tsp instant coffee powder (I used Verve)
Combine the egg yolks and sugar in the bowl of an electric mixer fitted with the whisk attachment, and whisk the mixture until it is pale yellow and very thick, about 3 to 5 minutes. Add the milk, cream, and coffee powder to a small saucepan, and bring to a boil over medium-high heat. Once bubbling, remove pan from the heat, and gradually pour half of the milk mixture into the egg-yolk mixture, while whisking constantly (again so we don’t scramble the eggs). Return the combined mixtures to the saucepan. Continue to cook over medium-low heat, whisking constantly, until the mixture is thick enough to coat the back of a spoon. Strain the creme anglaise through a fine sieve into a small bowl, then set this bowl in a larger bowl filled with ice water. This will help it thicken even further.
100 g almond flour / 100 g granulated sugar / 100 g gluten free all-purpose flour / 100 g butter, cold / 1 pinch salt
Preheat the oven to 350 degrees F. Combine the dry ingredients in the bowl of a stand mixer, then cut up the butter into cubes and add them, as well as a pinch of salt. Mix until a thick dough is starting to form. Line a baking pan with parchment paper and crumble the dough over the whole tray as best you can (my hands started to melt the butter so I had some larger pieces but this is fine). Bake for 15 to 20 minutes. My crumble started to all merge together, but once it was done I just used a fork to re-crumble it and it was perfect.
Serve the cakes warm with a drizzle of the coffee creme, a sprinkling of almond crumble and a dusting of cocoa powder. Divine.

The Conversation
Once dinner was served and everyone had a drink in hand, I sat down with my guests and explained that as we started our meal, each of us would have a turn to answer our question card. A formal seated dinner can sometimes feel a little intimidating, so I was hoping that by having prompts to start us off, it could ease some of the initial tension and keep the conversation flowing. I could have never imagined just how thoughtful and insightful all of my girl’s answers would be! Everyone fully committed to digging in deep, and I even learned new things about friends I’ve known for a long time. I saw lots of heads nodding in agreement — my hope is that I was able to help in facilitating stronger bonds between those who were previously friends, and creating new bonds between those who were meeting for the first time! You can read more about the cards and the meaningful conversations they created on the Wilde House blog.
We ended the night serving dessert and espresso martinis by candlelight. It was such a sweet time, I didn’t want anyone to leave (but, I had to allow my husband to come home at some point I guess). I’m so thankful to have such an awesome group of ladies in my life who encourage my creative antics, try all my recipes and concoctions, and cheer for me when I’m taking my 100th photo of the night. I’ll never know how I got so lucky.
Happy Galentine’s and Valentine’s day, to you and yours. xx
